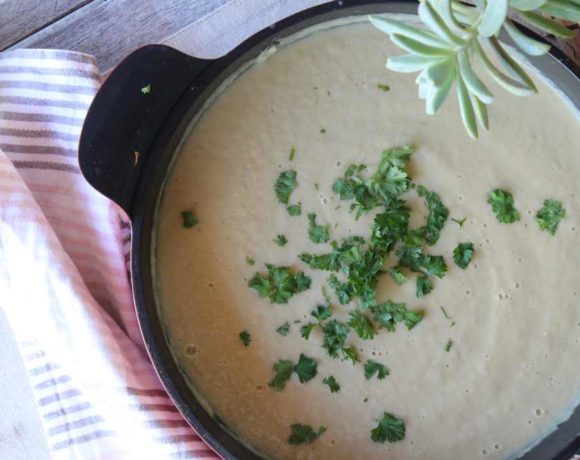
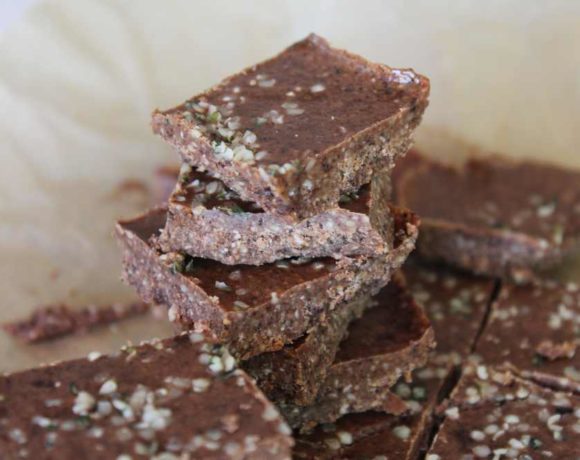
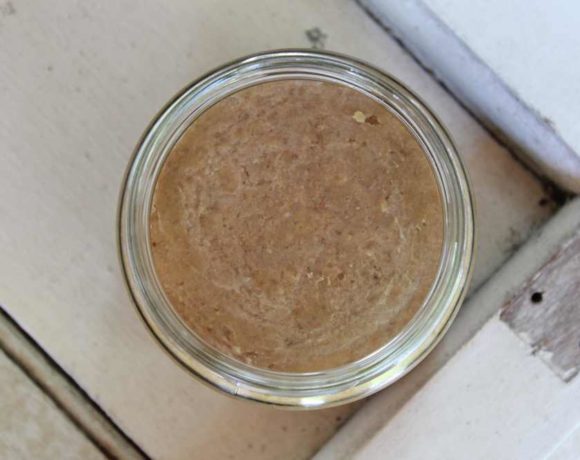
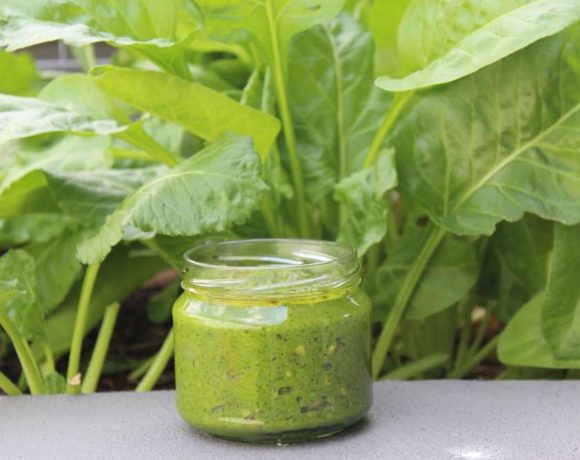
Sweet Potato Muffins with Coconut Crumble

20 04 2013

When I went to the markets this morning I bought the worlds biggest sweet potato, it weighed almost 2kg. Well I don’t know whether it is ACTUALLY the worlds biggest, I didn’t check the Guinness Book Of Records, but it probably is. Luckily I had The Fitographer with me to be my packhorse and carry the loads of food I kept purchasing. Marry a strong man ladies, that is my advice, they are very useful.

Inspired by the always talented and lovely Sarah from Ingredients of a Fit Chick, I used her sweet potato muffin recipe and added a few bits of my own. If you haven’t visited Sarah’s BLOG you really must, she loves coconut almost as much as I do so in my eyes that makes her an awesome chick. We’d probably be besties if we lived in the same country. She also has heaps of great recipes and does loads of cool things. You’ll like her.

Wet Stuff
1 cup sweet potato, steamed & puréed/mashed
2 tbs coconut oil/ghee, melted
3 eggs (use flax-eggs for vegan alternative)

Dry Stuff
2 1/2 scoops (90g) of whey protein powder (vanilla or flavorless) (use vegan protein if required)
1/2 cup coconut flour
1/2-3/4 tsp stevia powder (depending on how sweet you like it or 1/2 cup honey/maple syrup)
2 tsp cinnamon
1/2 tsp nutmeg
1/2 tsp cloves
1/2 tsp ginger
3 tsp baking powder
1/2 tsp vanilla powder (or 2 tsp vanilla extract)

Topping
1/2 cup shredded coconut
3/4 cup almond meal (or coconut flour if you want to keep this nut-free)
Dash stevia (or 2 tbs maple syrup/honey)
1/2 tsp cinnamon
1/2 cup egg whites

Preheat the oven to 160C. You will need 3 bowls. Mix all the dry ingredients well in one making sure you get rid of any lumps. Mix all the wet ingredients in another bowl until smooth. Mix all the topping ingredients together in a small bowl until well combined. Add the wet ingredients to the dry and mix until completely combined, try not to overmix this. Spoon this mixture into muffin/cupcake containers so they are about 3/4 full. Spoon the topping onto the top of each muffin and press down gently. Bake for about 10-15mins. They will continue to set a bit as the cool. Don’t overcook them or they will taste like cardboard. Remove from oven & allow to cool slightly, I chucked a blob of ghee on mine while it was still warm. So delicious. Coconut butter or nut butter drizzle would be amaze too. This made 12 cupcake sized muffins. You can freeze these or store them in an airtight container in the fridge…. That’s if they last that long, they taste best fresh out of the oven.

20130420-194414.jpg


Cream of Cauliflower Soup

7 04 2013

It has been a cold, wet week so far and it feels like perfect soup weather! Soups are a great way to get loads of veggies in your guts without trying very hard. Make them on some bone broth and you get even more amazing health benefits like immune support, joint support, gut healing and reduction of inflammation. Cauliflower is from the same family as broccoli and cabbage, it contains many essential B-complex vitamins and loads of vitamin C. Cauliflower contains several anti cancer phyto-chemicals which have proven benefits against prostate, breast, cervical, colon, ovarian cancers. You could make a cream of broccoli version by substituting the cauliflower for broccoli & adding a couple of handfuls of baby spinach too.

1 carrot, finely diced
3 cloves garlic, crushed
1 onion, finely diced
Coconut oil to sauté
1 heaped tsp fresh ginger, grated
1 small head cauliflower, chopped roughly
1 cup coconut cream
2 lge zucchini, peeled and chopped into 1/4′s (you don’t have to peel them, I just didn’t want green soup this time)
1L stock (vegetable, chicken or your own homemade bone broth)
Salt & pepper to taste
Fresh thyme to serve

In a large pot sauté the onion, garlic, ginger & carrot in the coconut oil until the onion is translucent. Add the cauliflower, zucchini & stock & bring to the boil. Reduce to a low heat & simmer for about an hour. Use a stick mix to blend until smooth. Add coconut cream & salt & pepper & blend until combined. Serve with some fresh thyme. Easy as.

20130407-170544.jpg


No Cook Carrot Cake

28 03 2013

By no cook I mean no bake, it still requires a cook. It’s not going to make itself. It’s cake, it’s not that clever. Trav thinks this is the best cake yet…. He also thought that when I blended frozen peas (thanks Bel for the idea) with blueberries & Acai powder in the food processor as dessert one night that THAT was “definitely THE BEST creation ever”, true story. So let it be known, he is VERY easily pleased. This is actually delicious though & was inspired by THIS RECIPE that I adapted based on what I had.

For the base-
1/2 cup almonds (can sub for cashews or macadamias)
4 fresh dates
1/2 cup coconut butter (you could use 1/4 cup coconut oil, it will just change the texture slightly)
1 1/2 carrots, grated
1/2 cup walnuts
1 tsp cinnamon
1/2 tsp nutmeg
1/2 tsp cloves

In your food processor blend dates, almonds & coconut butter until fairly smooth. Add remaining ingredients & blend until just combined. Press into a baking paper lined tray (I used a loaf tin) and pop in the freezer while you do the icing.

For the icing-
1/2 cup blanched almonds, soaked in water for about an hour or more, then drained (no drama if you don’t use blanched it will just darken the icing colour slightly- you can also use cashews)
5 tbs water (approx)
Juice 1/2 lemon & zest
1/2 tsp vanilla powder
Dash stevia to taste
2 tbs coconut butter (again you can use coconut oil but probably don’t add the water if you do)

Blend all icing ingredients in the food processor until smooth. Add extra water/coconut oil to achieve the desired consistency. Spread this on top of the carrot cake base & place in the fridge (or freezer if you are super impatient like me). Top with some extra walnuts & a sprinkle of cinnamon. Can be stored in the fridge or freezer, just let it thaw before trying to munch on it when you take it from the freezer.

20130328-080453.jpg


Coconutty Fudge

2 03 2013

I had a heap of coconut butter left over from making my Coconutty Cookies and I thought that, instead of just eating it with a spoon out of the thermomix (not that I would do that…..Totally hypothetically speaking…. Ok, alright, I have, and probably will again, stop judging you judgey mcjudge), I would make some fudge because that is my fallback plan for leftover nut butter and this was similar and I am not feeling very imaginative.

These quantities are pretty rough so just use them as a guide and adjust as you need to.

1 cup of coconut butter (ish? Maybe closer to 1&1/2 cups?)
2 heaped tbs whey protein
1/2 tsp vanilla powder
2 tsp lucuma powder (you can leave this out, I just chucked it in because I had it)
Pinch stevia (or pure maple syrup)
Raw cacao nibs to decorate- optional

Mix everything really well in a bowl. Pour into a baking paper lined dish. Pop it in the fridge to set. Voila.

20130302-190415.jpg


Vanilla Bean Ice Cream

26 02 2013

This delicious creation comes courtesy of Quirky Cooking! I saw it on her Facebook page and it is freaking amazeballs! It is dairy free, gluten free, sugar free, vegan, raw, vegetarian, paleo…. Based on all of that, it really should be “taste-free” but, it’s not, it is a taste sensation, a mouth party, a totally splendid food experience. Convinced yet? I altered the recipe a bit (of course I did) and you can probably alter it some more if you wish. I think some great additions would be – raw cacao, cacao nibs, frozen berries, fresh dates, peppermint essence, instant coffee, obviously not all together, that would be disgusting & this my friends, is NOT disgusting. Hot tip, you will need a really good food processor (small size bowl would be best) or a high speed blender like a Vitamix etc, I have only done this in my thermomix, it might take a bit of ‘bowl scraping’ in anything else. Go forth & blend my pretties.

200g raw cashews
200g ice
1/2 tsp vanilla powder (you can use vanilla beans, vanilla paste or extract)
1 tsp lucuma powder (optional)
Dash stevia (or 1 fresh date or 1 tbs pure maple syrup)

In the high speed blender/processor add cashews & process until the become a flour-like consistency. Add everything else & process until it looks like ice cream. Finished. Done. You can eat now. This serves 2. Or just me. Don’t judge.

20130412-204701.jpg


Follow

Get every new post delivered to your Inbox.

Join 1,685 other followers

%d bloggers like this: